


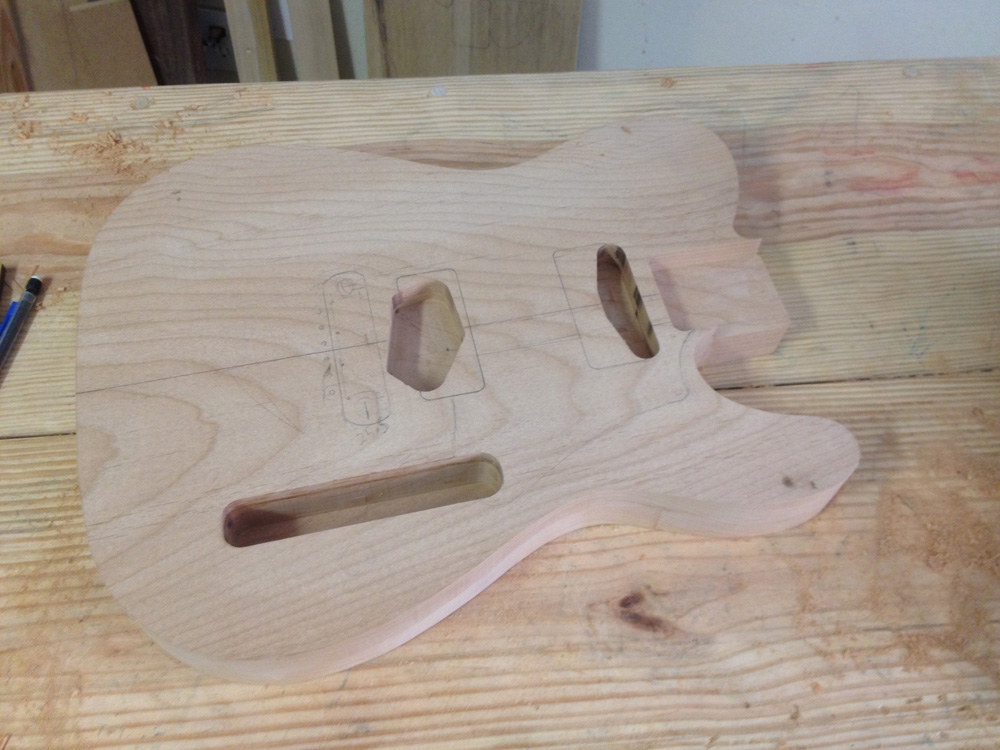
I've got a one piece Alder body blank here that I've bandsawn to shape. I was thinking of doing two P90s and a wraparound bridge but decided to save that for another build and go traditional Tele with this. After routing the body outline with a template, I routed the pickup and control cavities and also the neck pocket. I missed some of the pics including routing the rounded over edges that you'll see later on because I didn't think of making this blog until after not taking those pictures.


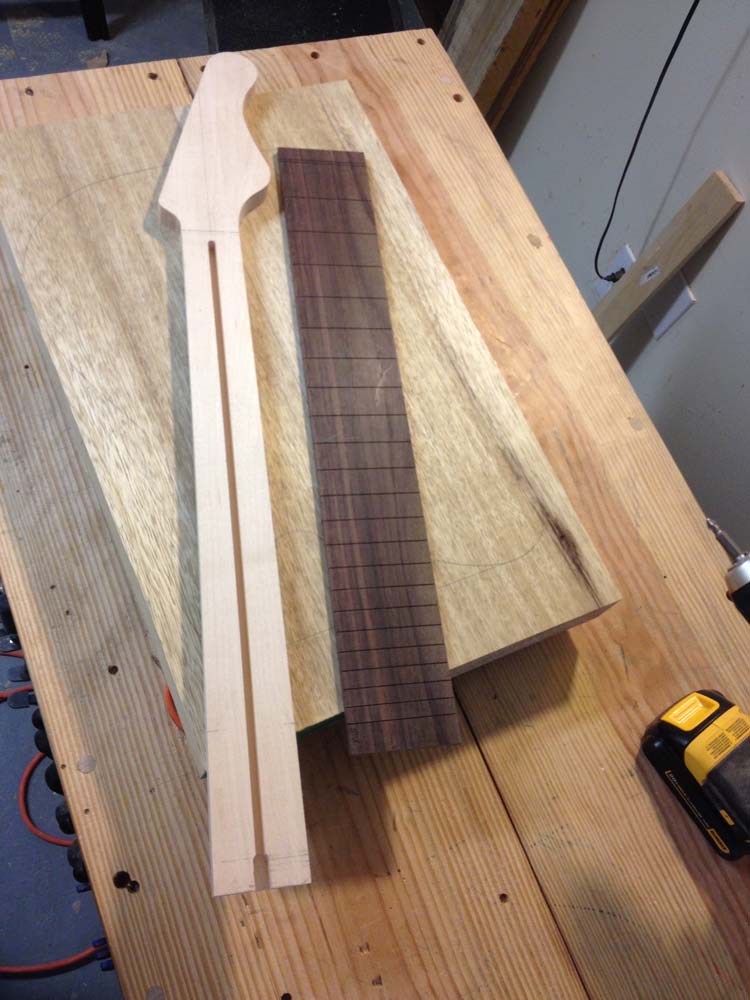
Here's my maple neck blank and rosewood for the fretboard. First up is routing the channel for the truss rod. I draw a center line and trace the neck outline from the template I made. I'm using a spoke nut rod from Stewmac with adjustment at the heel. I prefer accessible heel adjustment over headstock accessed rods. I have to rout a short bit of the channel a little wider at the heel for the nut. I will fill that end of the channel above the adjustment nut with a small block later to hold it in place.


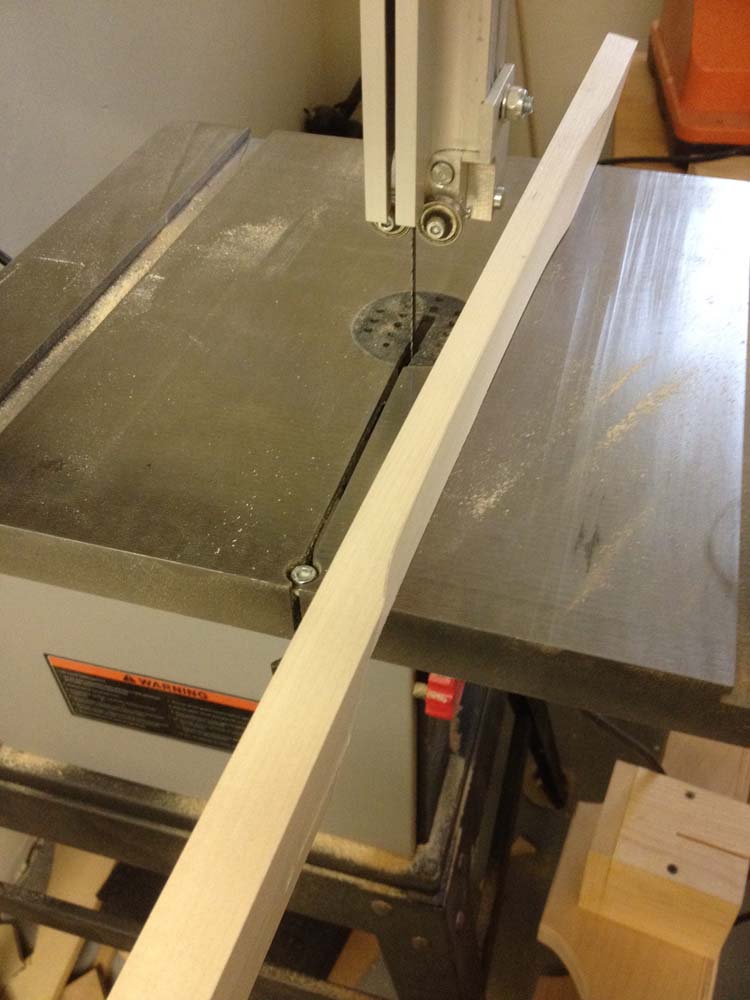
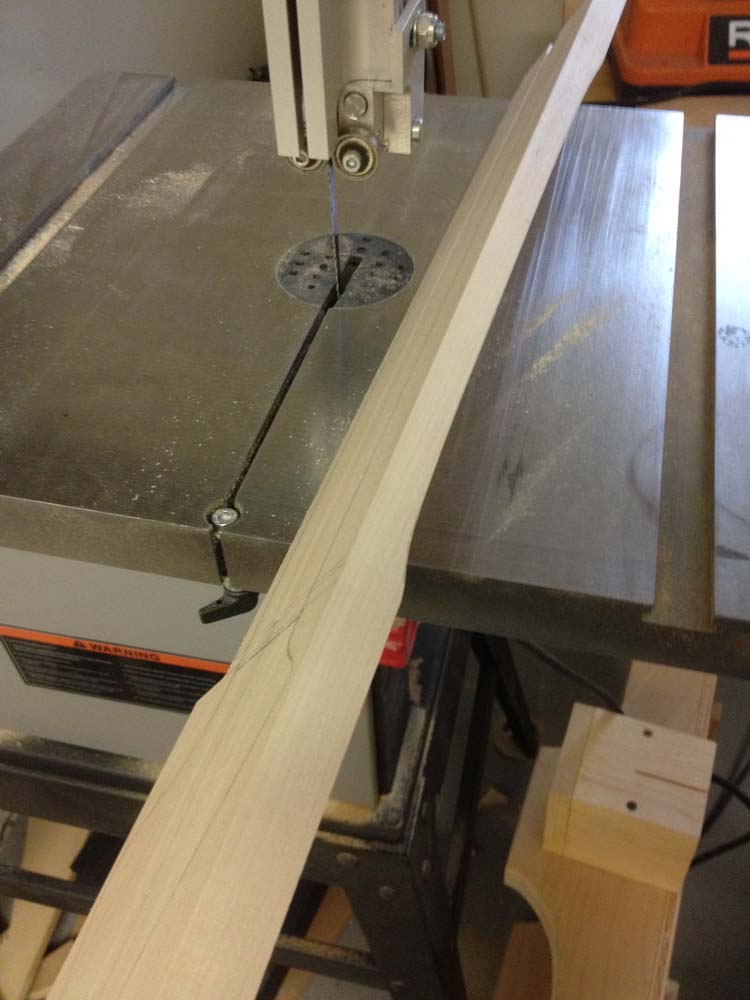
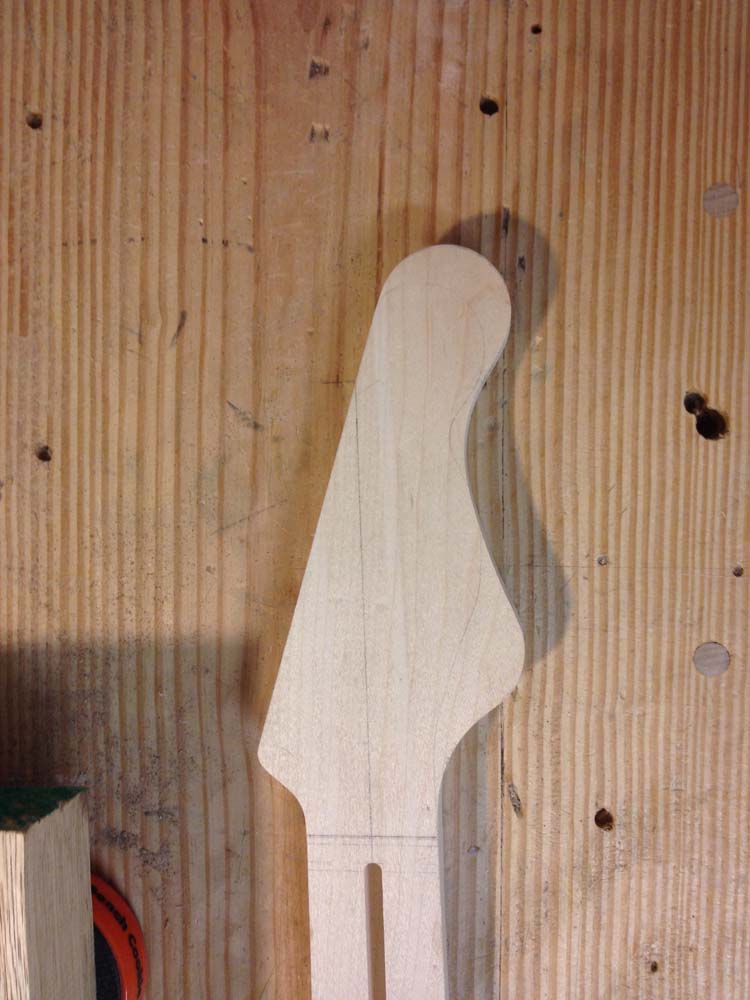
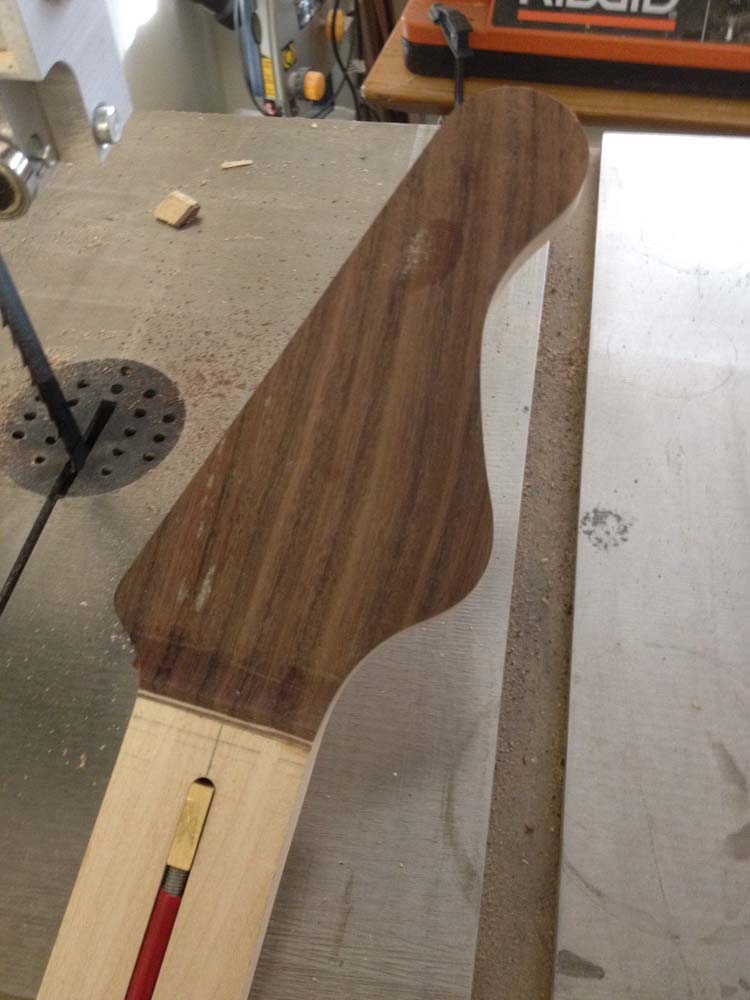
After trimming the back profile and rough outline on the bandsaw, I attach the template using the masking tape and superglue method and cut it to shape on the router table using a flush-trim bit. My router bit was getting a bit dull and so I finished the tip of the headstock on my oscillating belt sander.


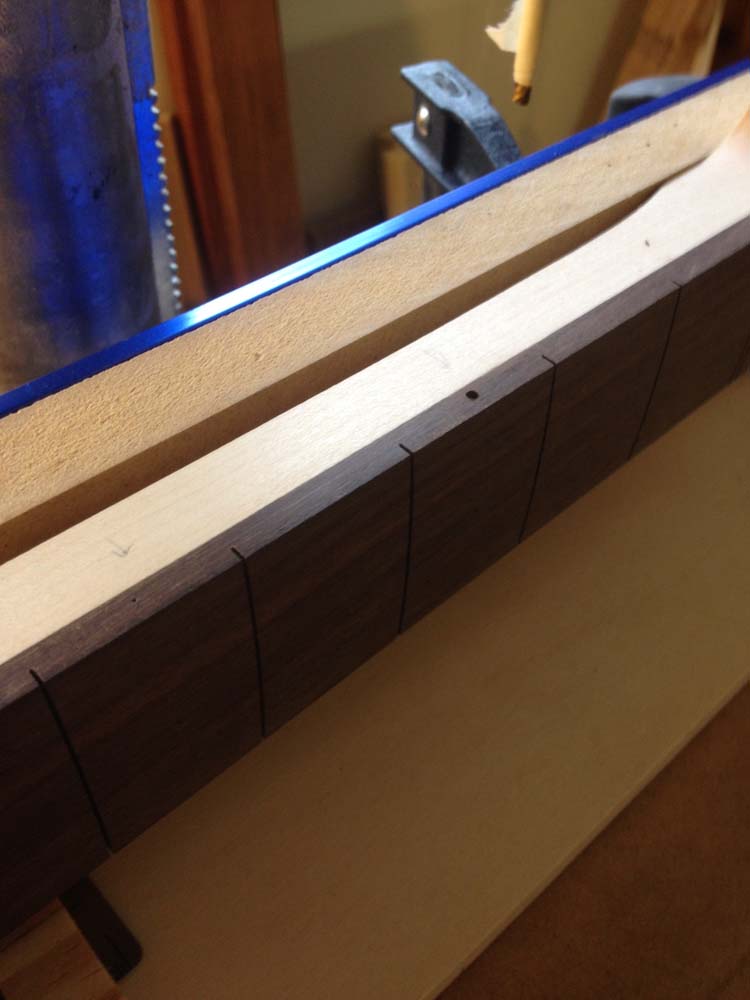
Next I slot the fretboard using a miter jig that I made. I stick a slotted template to the back of my blank. The jig has an index pin that fits in the slots of the template so my saw cuts in that same location on the top of the fretboard blank. With the fretboard about ready to attach I glue a small piece of maple above the truss rod nut to hold that end in place.


I made a small jig to attach to the router base and used a 3/4" dado bit to plane the headstock to thickness. I stuck the neck to a flat surface with a couple of wood block stops to prevent me routing past what will be the transition from the headstock to the beginning of the fretboard.


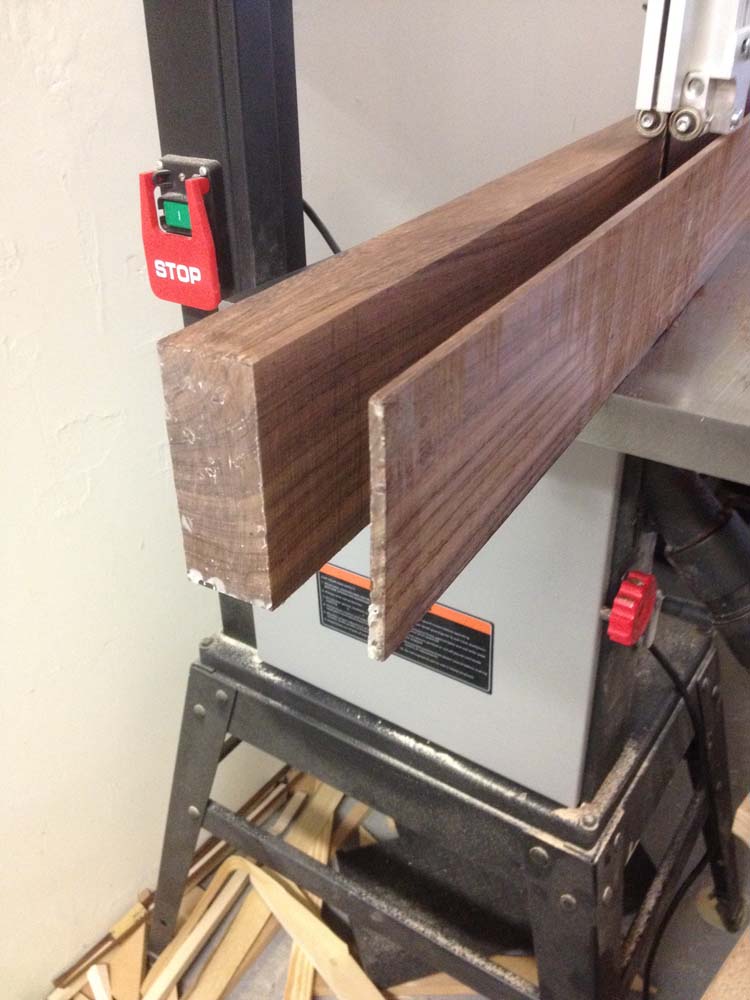
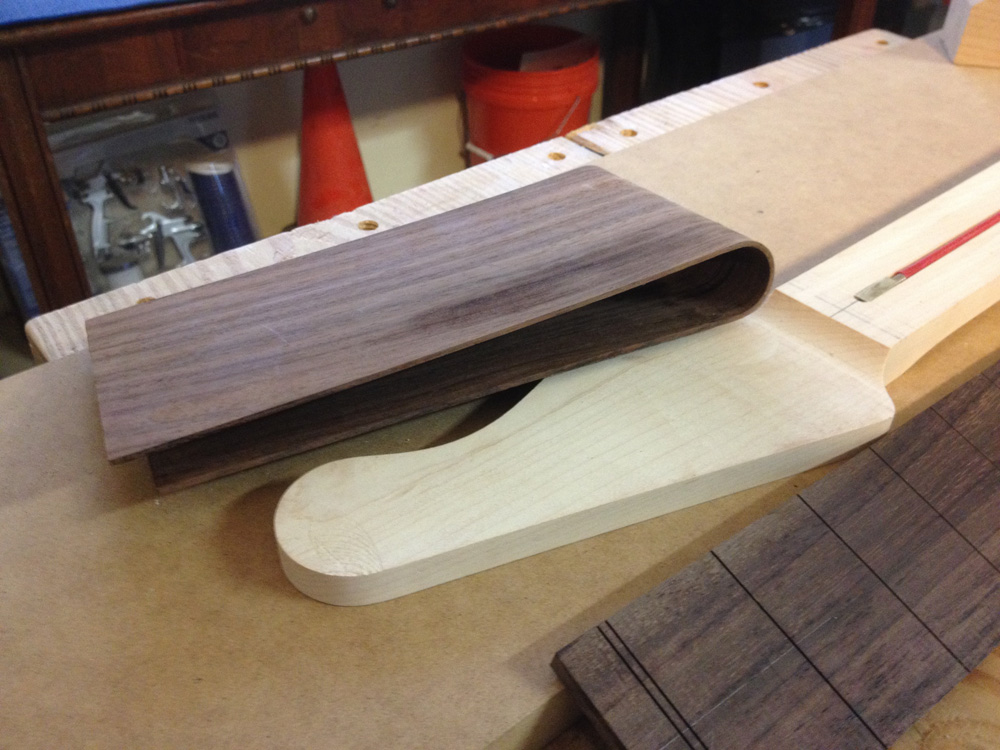
I decided to do a rosewood headstock overlay because, why not? Plain Fender style headstocks are boring and I have this nice piece of Indian rosewood just waiting for a project. With a resaw blade on my bandsaw I make sure it's perfectly square and cut a thin piece off the face of the board. The other side of the board happens to be pretty much dead flat so I plane the now rough side and use it as a sled to attach my veneer piece and pass that through the planer. Next using the spindle sander I sanded the transition curve from the headstock face to where the start of the fretboard will be. Next I have to bend the overlay to fit that curve.


After poking around the internet for ideas I came up with this makeshift bending iron. A few pipe fittings set up so my heat gun blows through the pipe. Just wet the wood and it bends fairly easily around the heated pipe. The wood shouldn't splinter as long as you don't go too fast. This is probably a fire hazard so don't try this at home. It's not in the photos but I sanded a matching curve on a wood block to use as a clamping caul. I sandwiched walnut and maple veneers under the rosewood as an experiment.


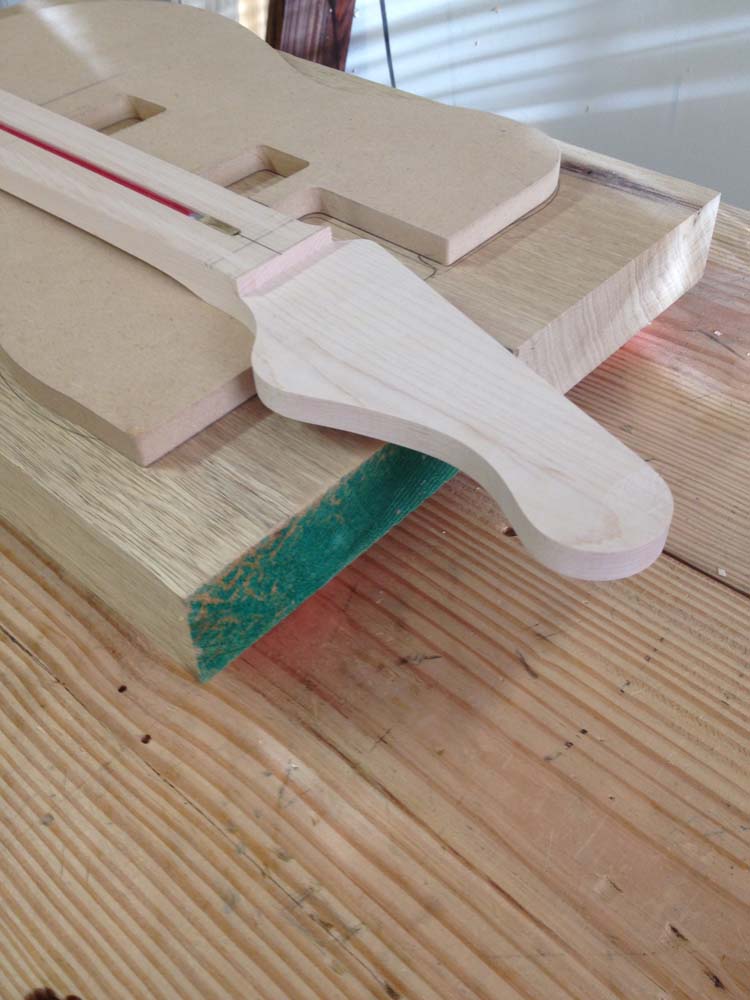
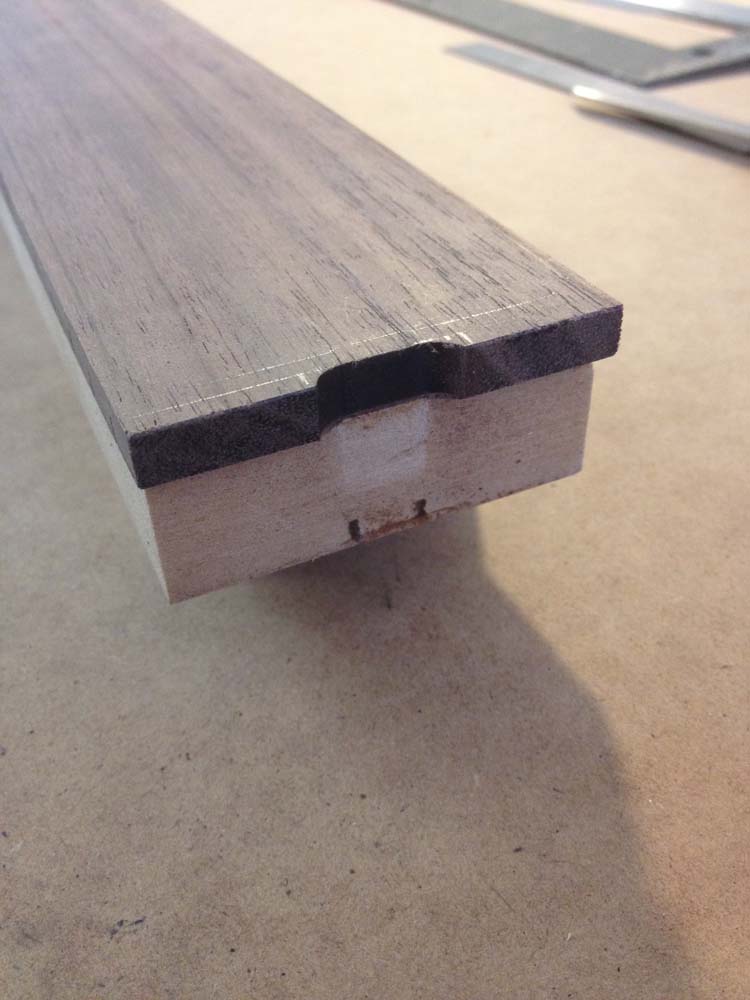
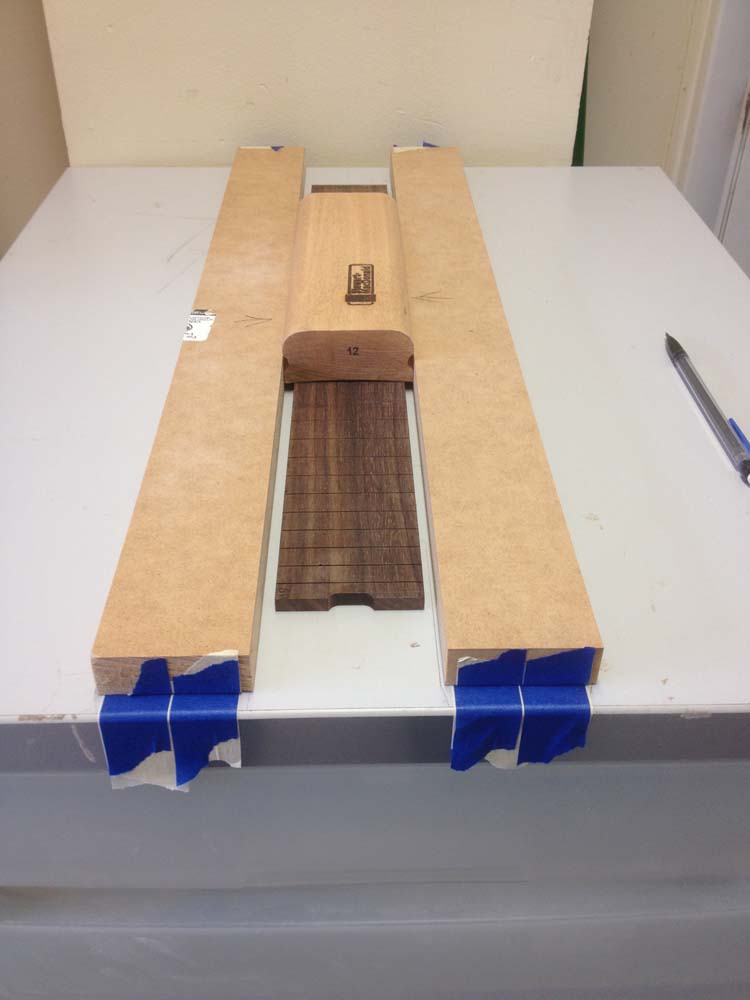
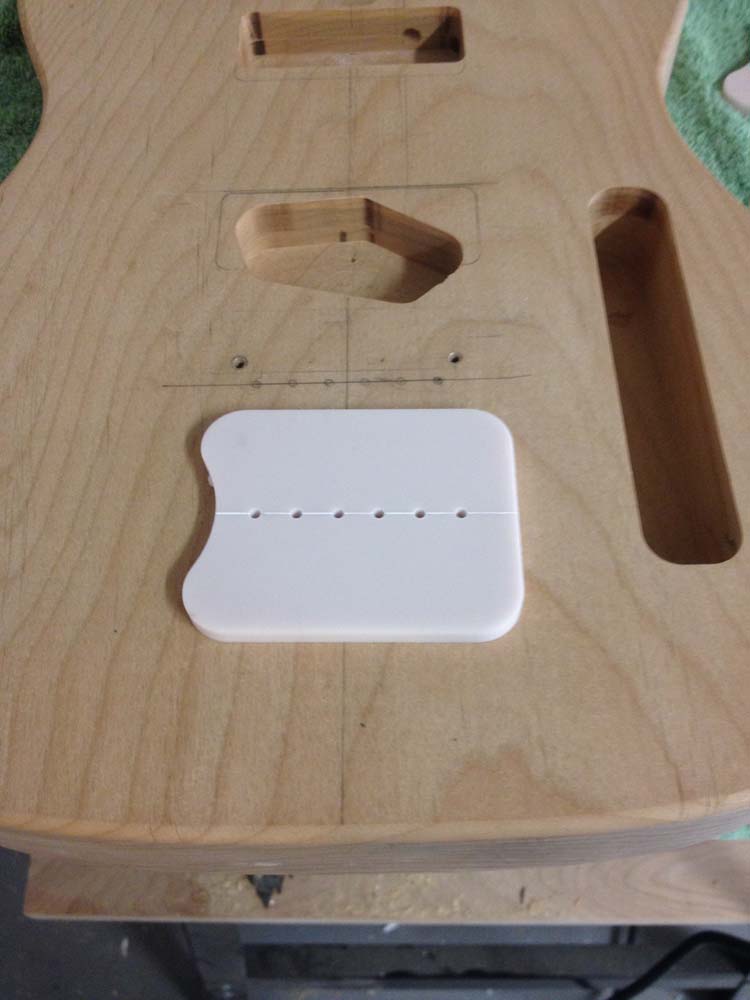
I was going to have the truss rod nut just hang off the end of the fretboard and notch the spot on the body but instead of trimming the end of it down I thought it might look cool to put a notch in the fretboard too. I did this by sticking the fretboard to a piece of MDF and cut into it from both sides using the fence on my router table and a flush trim bit so that the bit stopped when it hit the MDF. Going at it from both sides of the fence kept the notch centered on the board. Here you can also see the fit in the neck pocket and the notch in the body.


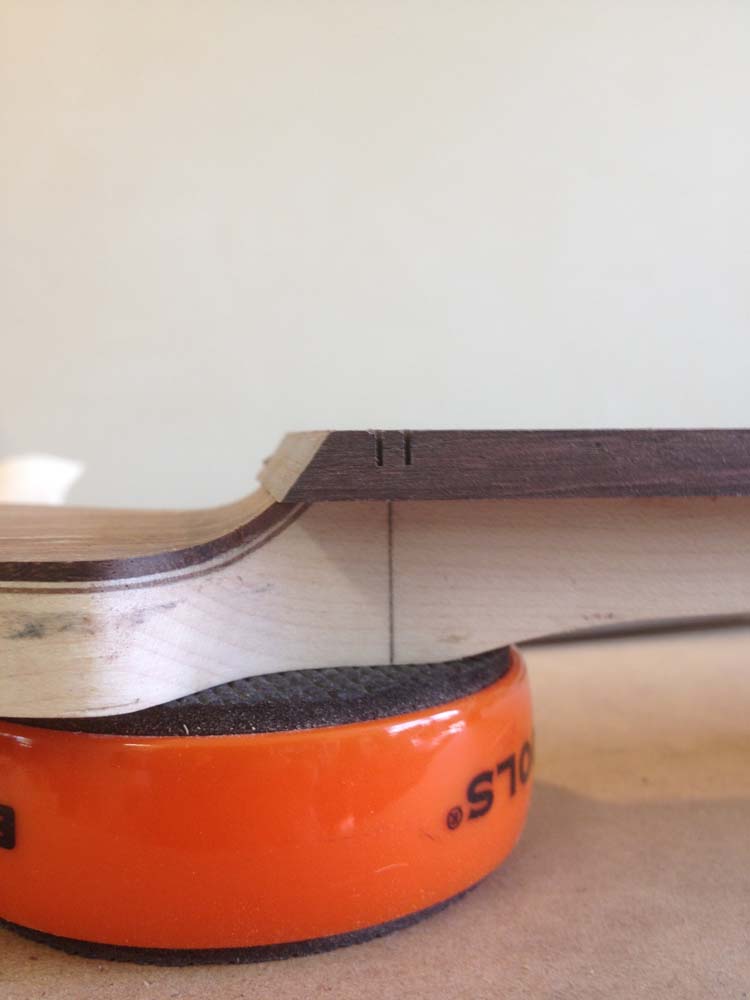
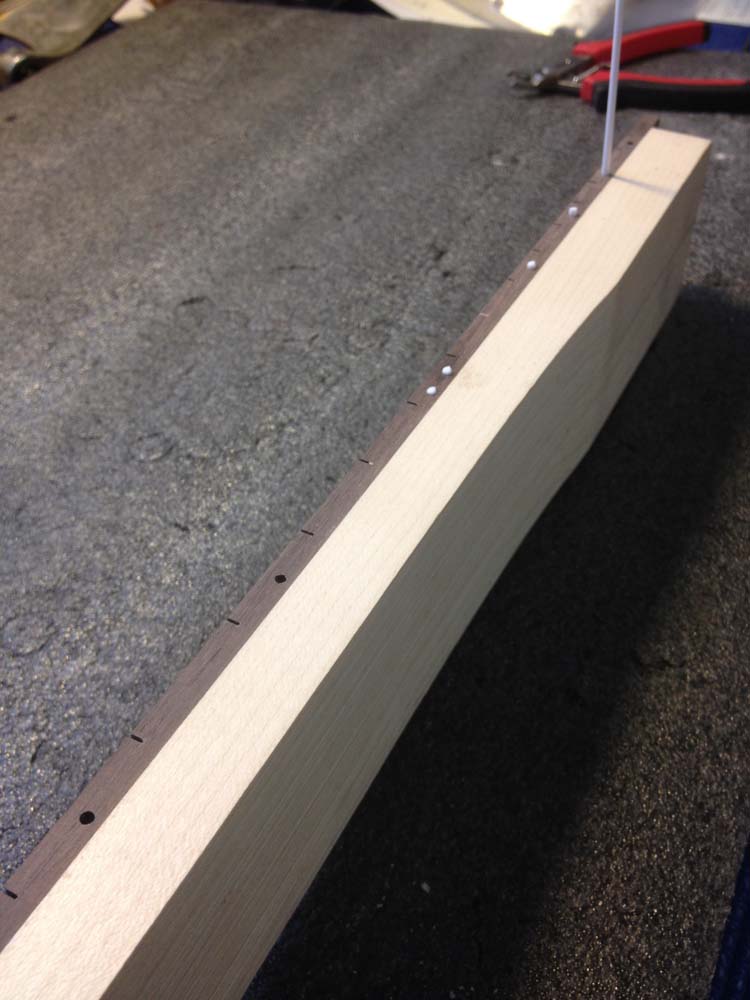
I then drilled two holes for pins that will keep the fretboard from traveling during glue-up. One in the nut slot, and one in the 21st fret slot so they will be hidden when the frets and nut are installed. The pins are just small nails with the heads cut off. I then cut the portion of the fretboard behind the nut so there is less to take off later with the spindle sander.


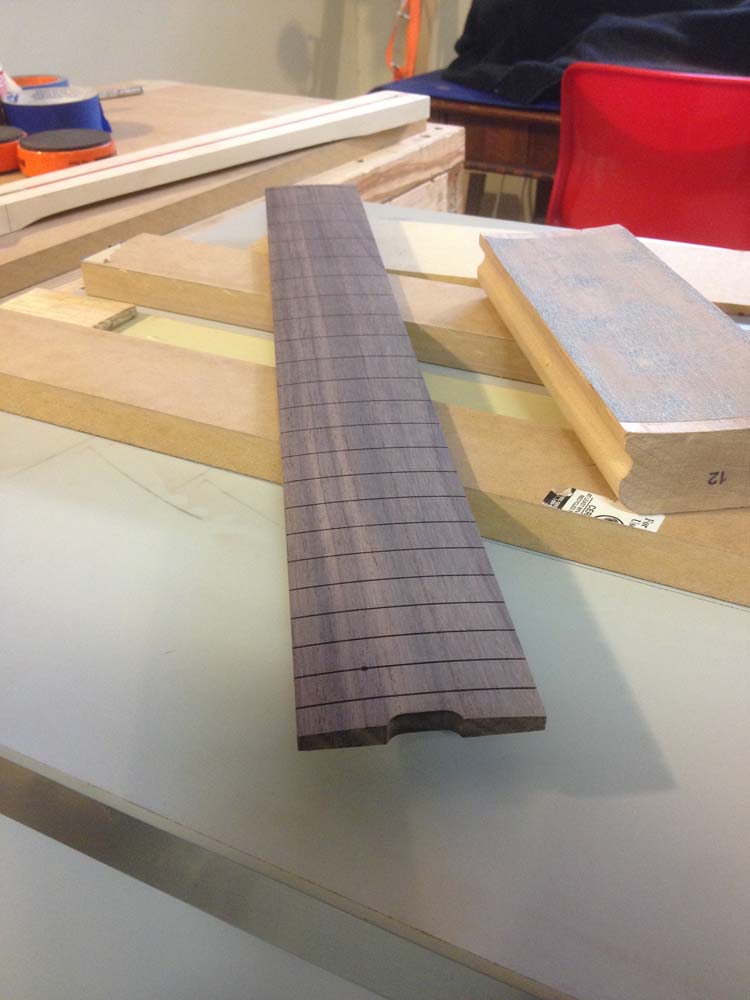
Next I radiused the fretboard to 12 inches. I stuck the fretboard to a flat surface in between two rails that will keep the radius block centered as I sand back and forth. This method is time consuming and labor intensive and not really worth saving the ten or fifteen dollars by doing it myself. I plan on building a router planing jig to do this in the future.


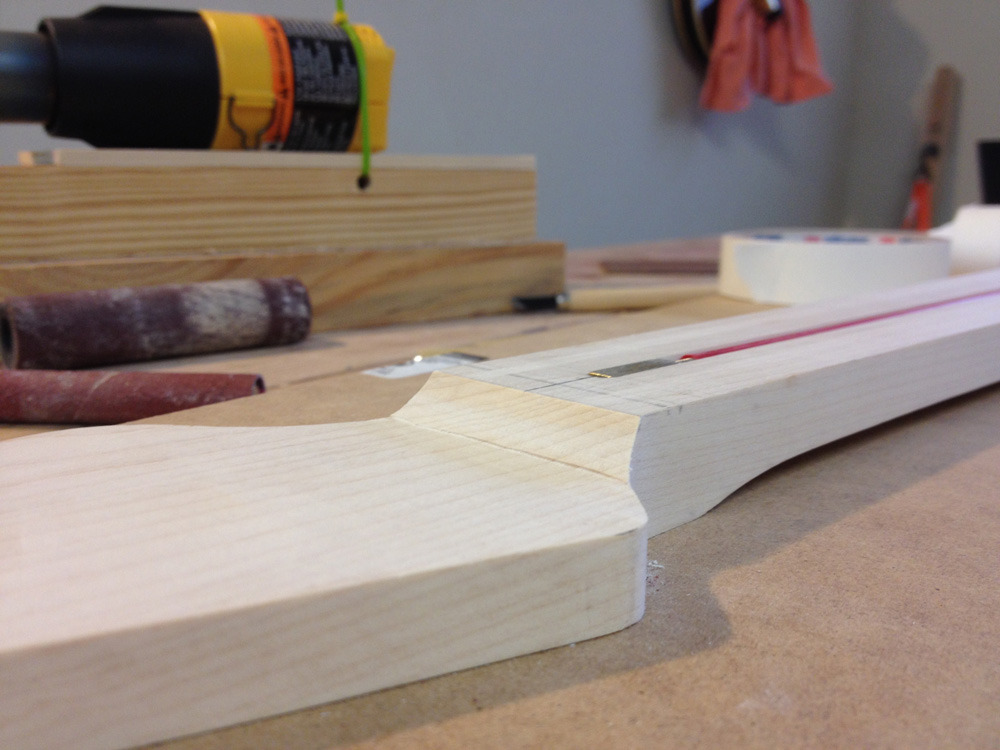
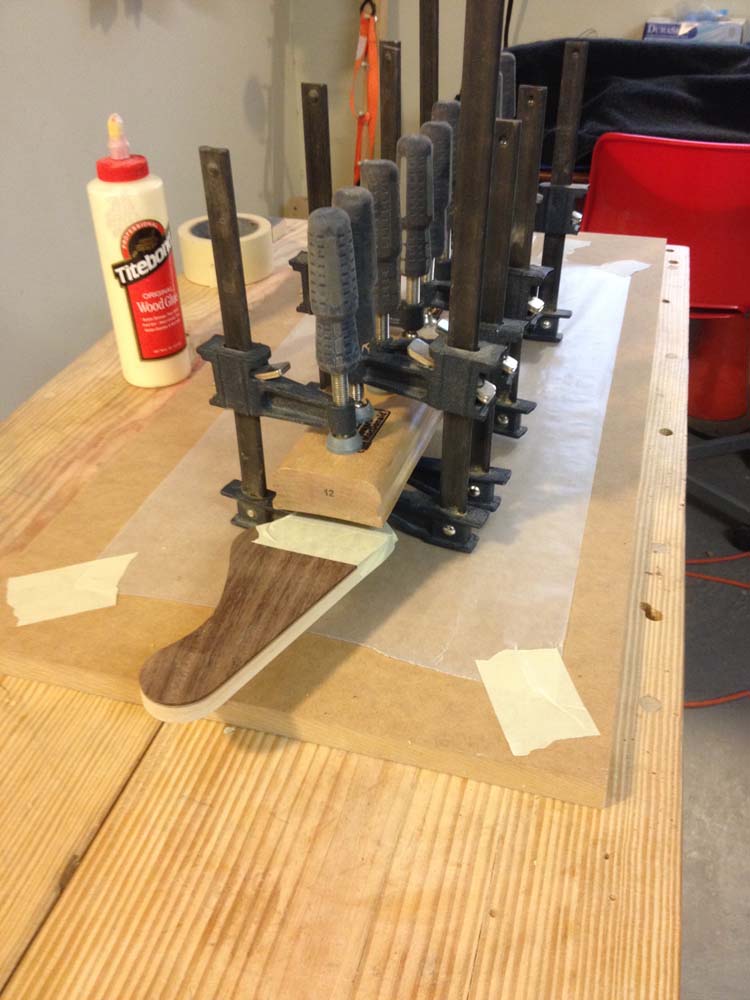
Next I glue on the fretboard using radius blocks as clamping cauls to get even pressure. I cut it flush on the router table with a flush trim bit and then finish up the headstock transition with the spindle sander.


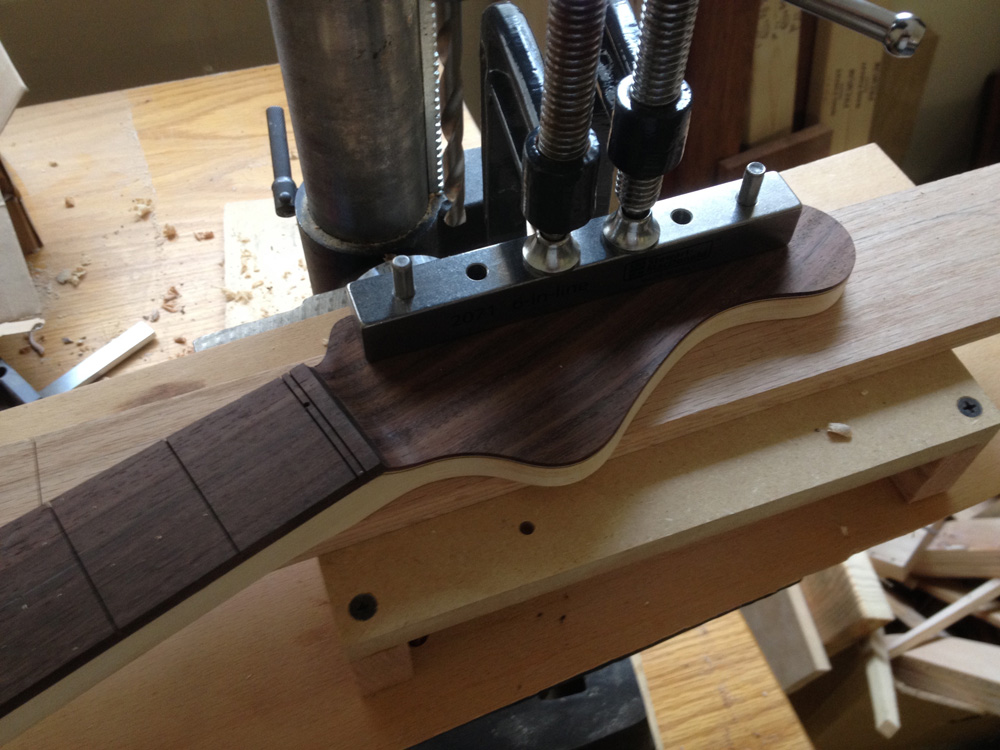
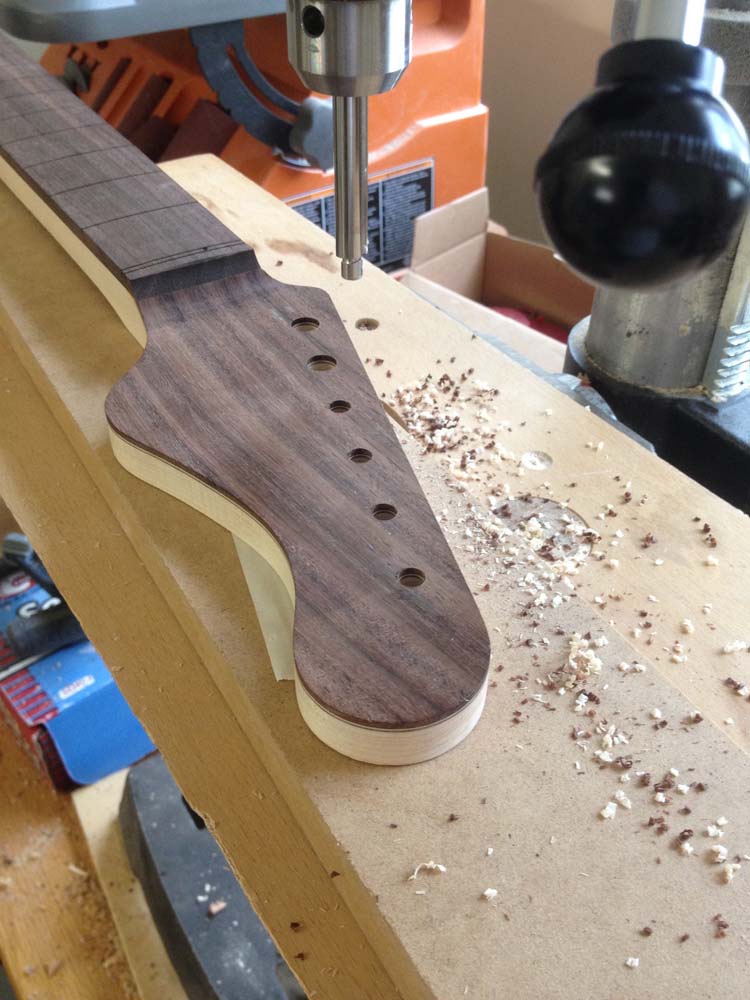
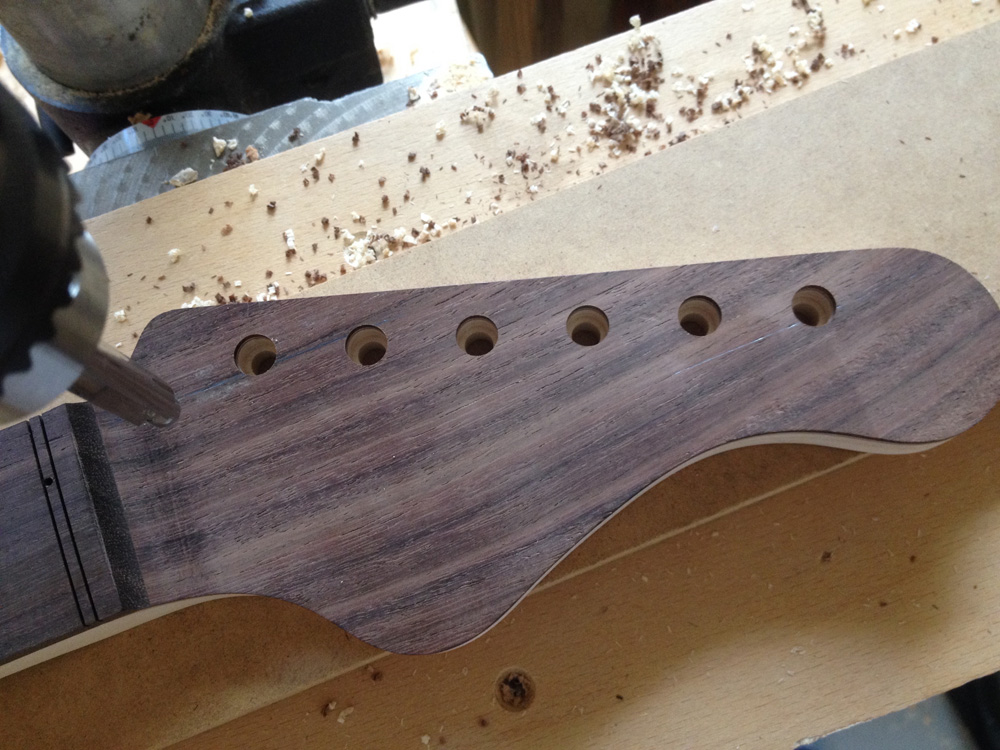
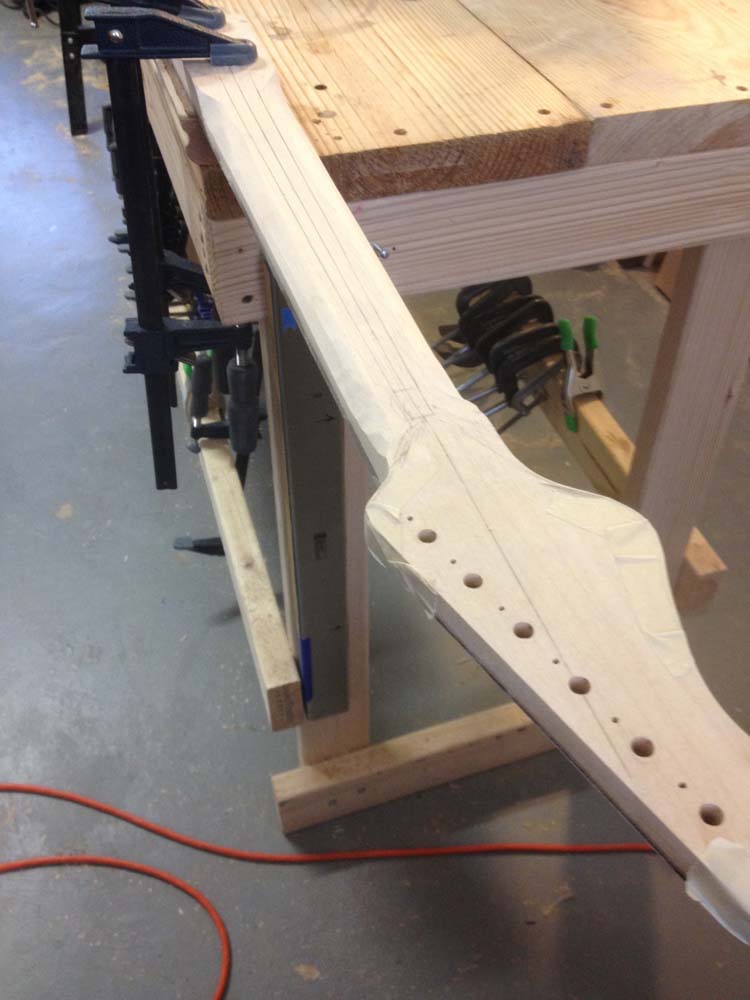
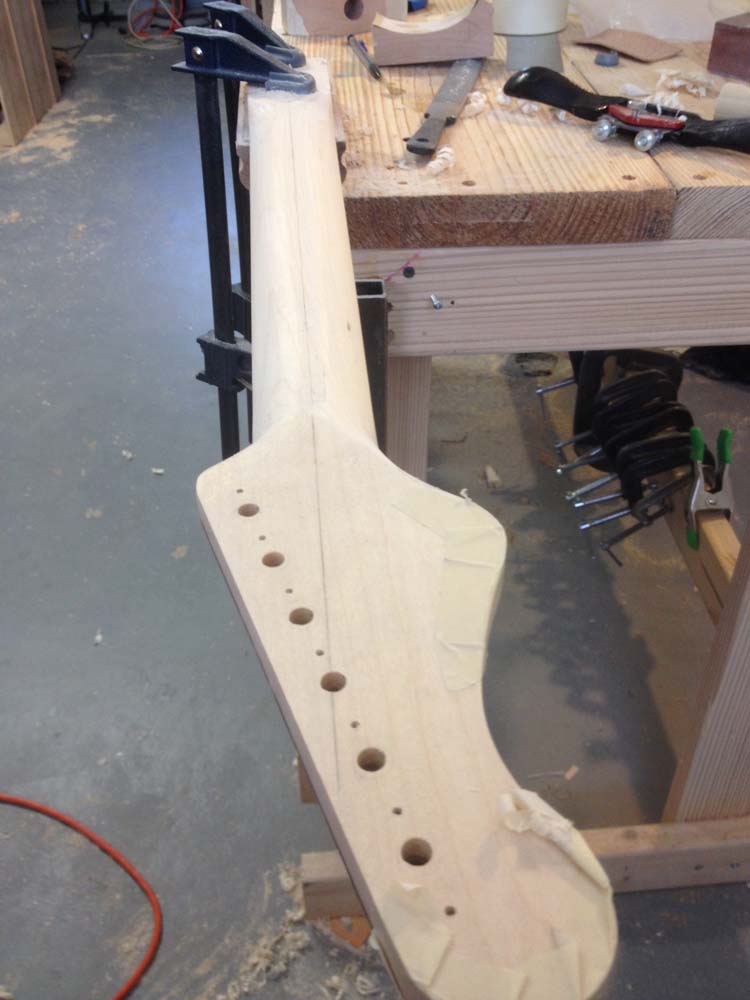
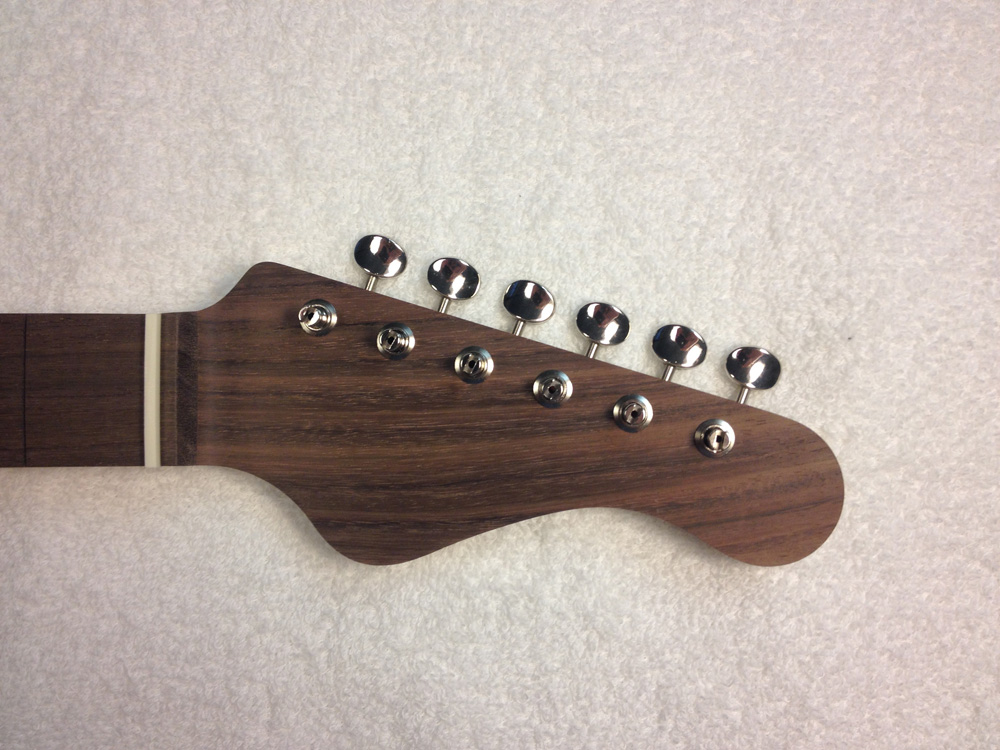
The tuner holes are drilled with the help of this awesome jig that keeps them perfectly aligned. The 1st and 6th holes are drilled with the jig clamped on. Then pins are then inserted it the two outer holes and the rest are drilled. I then placed in the tuners and taped a ruler under them to keep them straight to help me get the screws in a straight line. The front is drilled using a special counterbore reamer to fit the bushings.


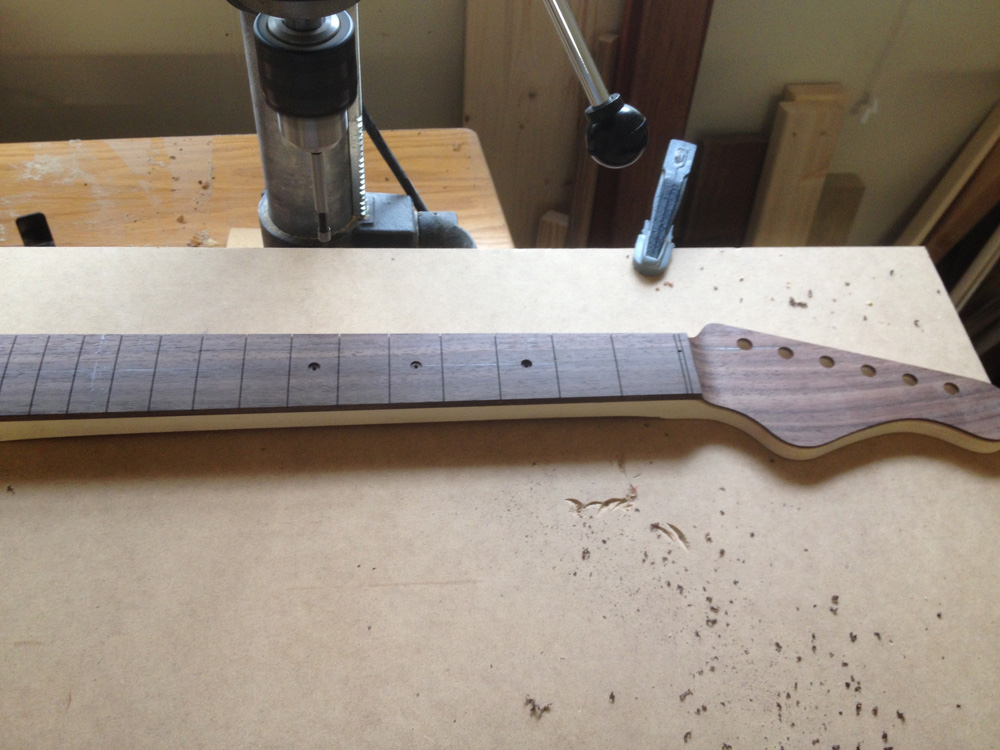
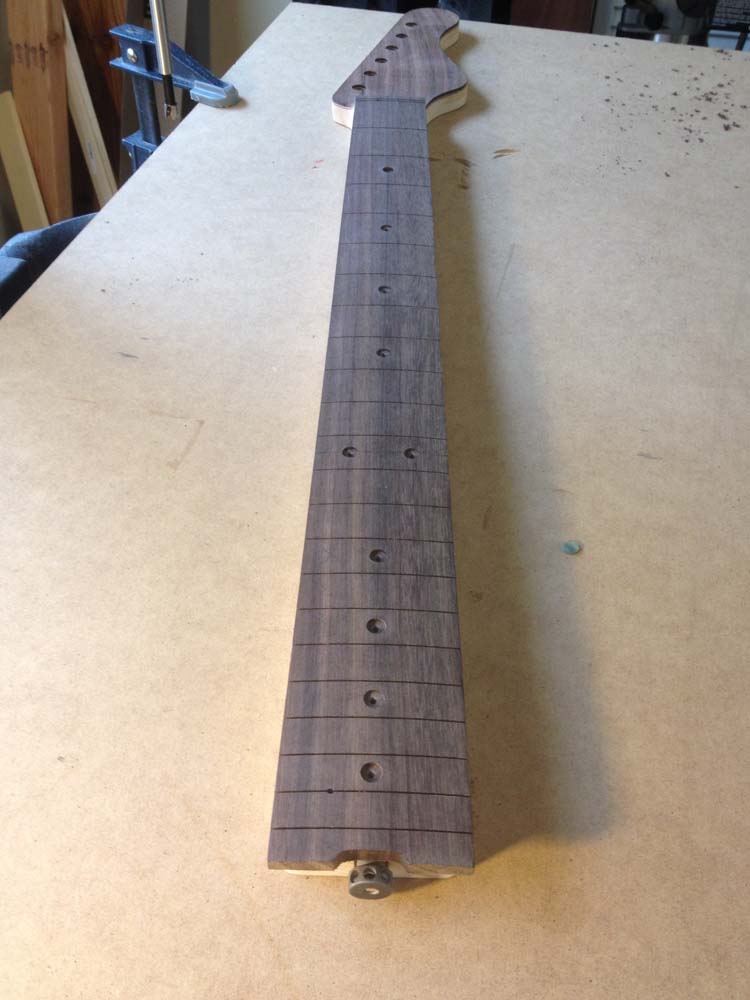
Next I marked and drilled for the inlays. Clay dots for the face and white dots on the side.


Carving the back of the neck is a lot of work but it's the most rewarding part up until finishing the guitar. I used a combination a spokeshave and medium and fine rasps to get the shape right, referencing a neck that I like the feel of all along the way.


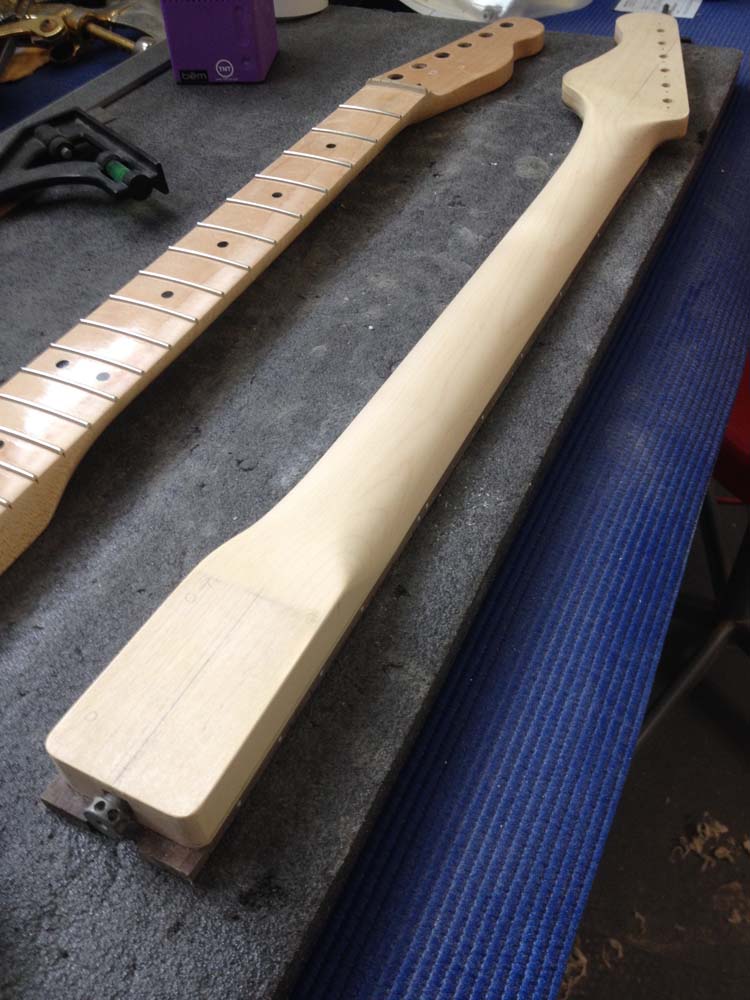
I test fitted the tuners and mounted the neck. You can see I rerouted for a P90 neck pickup. I'm going to wind one using slug magnets instead of bars. Woodwork is done!


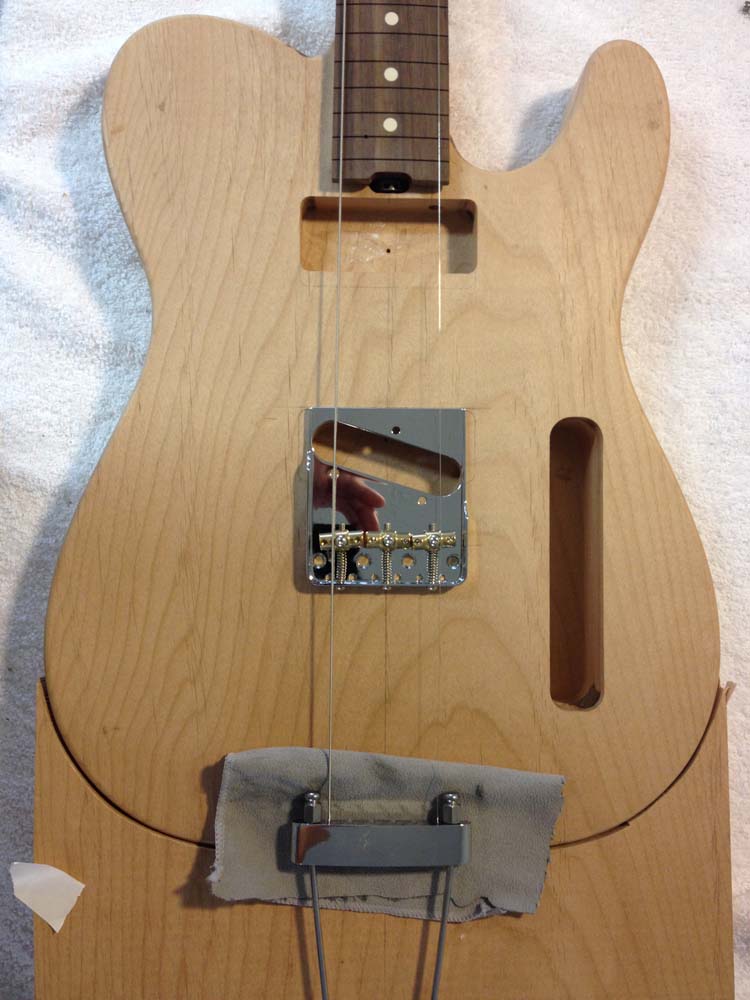
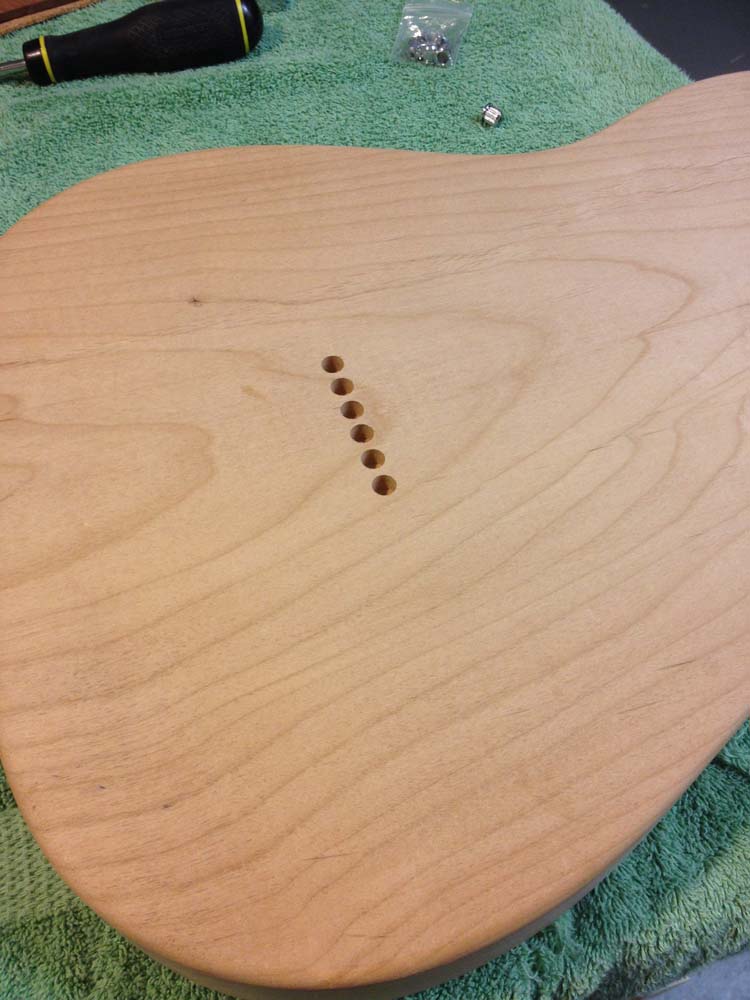
I lined up the bridge using an archtop tailpiece and the 1st and 6th strings. The string through holes were drilled with a jig I made so they are in a perfect line. They do not go all the way through the body yet just in case my drill press wasn't perfectly squared up. I didn't want to chance them looking off on the back.

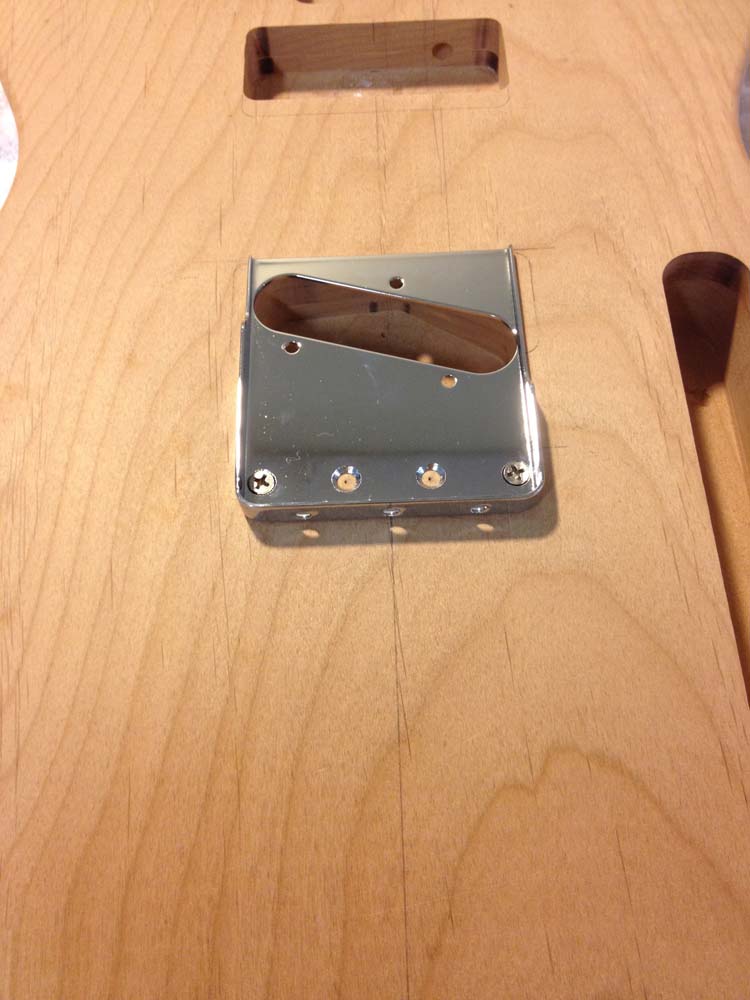

To drill the holes through the back, I made a hole in the drill press table and inserted a 1/8" bit to use as an indexing pin. I then placed the front of the body down on the pin in each of the holes I drilled from the front. This keeps them perfectly aligned. After drilling the 1/8" holes, I then changed the bit and bored each one out for the string ferrules again using the index pin.


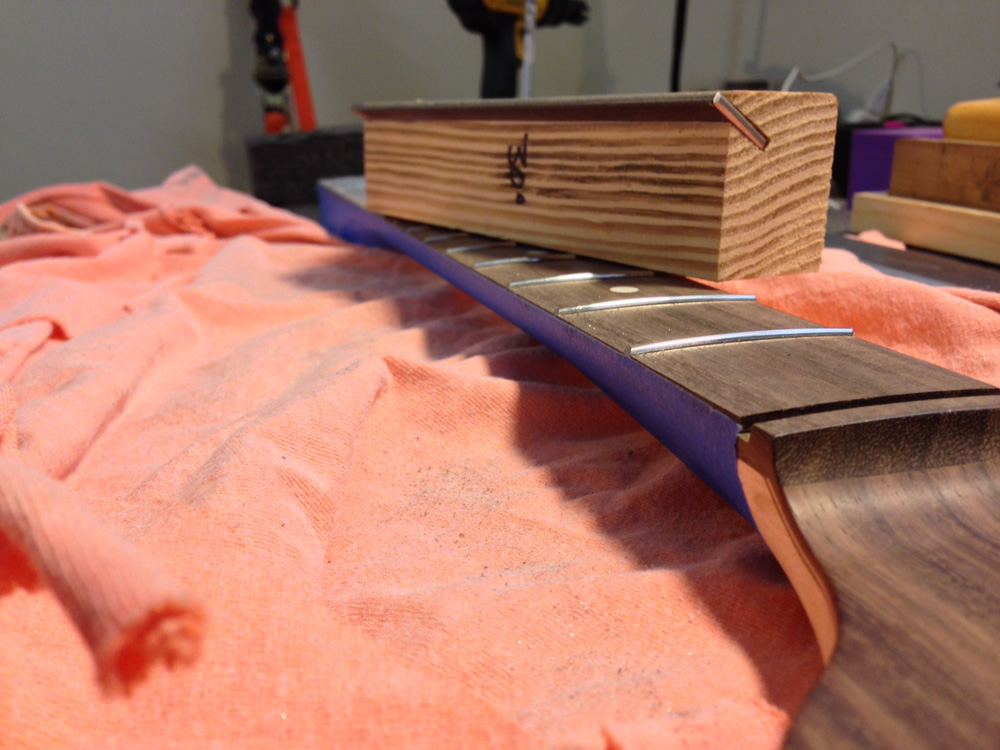
Next I strung up the guitar and and mounted it onto a jig I made that simulates string tension so I can spot level any areas on the fretboard that may need it.


I cut the frets to length and installed them with a press caul on the drill press. The ends were beveled with a file inserted in a channel in a block of wood at 30 degrees. The the fret ends were then rounded with a special file.


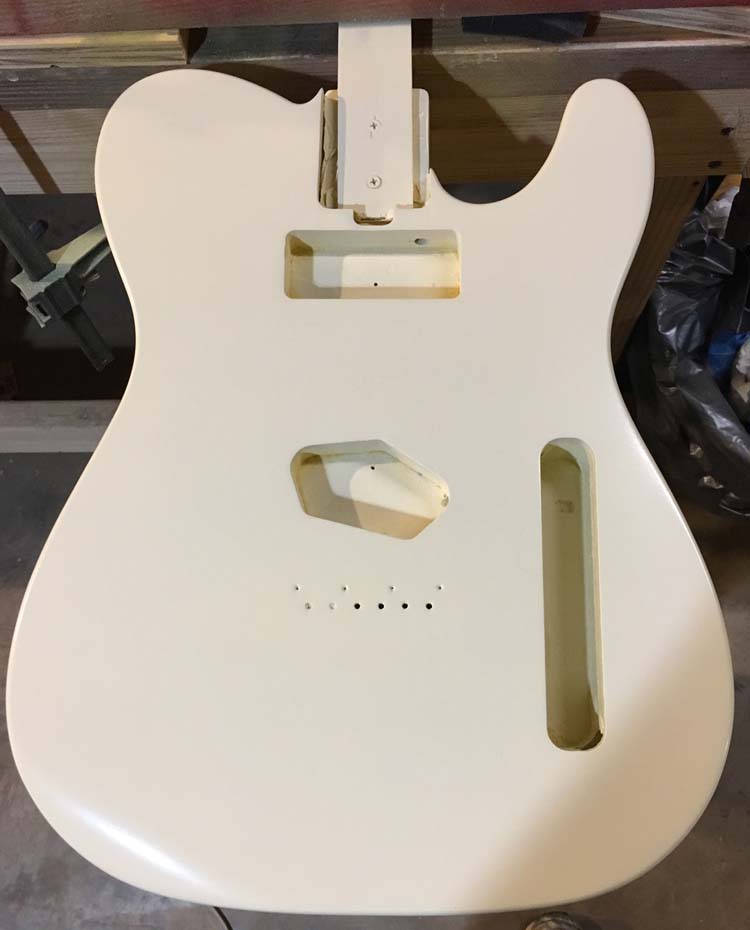
After grain filling and sealing the headstock face with shellac, I screened on the logo. The headstock is then finished with clear poly, wet sanded, and ready for buffing. The back of the neck is finished with satin poly. For the body, I tried out a water-based lacquer that I tinted vintage white. Now I just need to spray a few coats of clear. The pickups are wound and wax potted while the finish dries. Winding pickups is not my favorite thing to do but they sound great when scatter wound and for the price of a few nice pickups you can buy a winder.


Coming soon... wiring and assembly.